
코딩블로그
PWA적용기 & css... 본문
https://noogoonaa.tistory.com/110
PWA 시작하기 - Next.js 프로젝트로 PWA 만들기
이 글은 기본적으로 Next.js를 알고 계신 분들이 보기 좋은 글입니다. 하지만 모르시는 분들도 이해하실 수 있도록 작성하였습니다. 1. 프로젝트 생성 # 자바스크립트로 생성 npx create-next-app@latest #
noogoonaa.tistory.com
이 분을 보고 엄청 많은 도움을 얻었다..
1. Next.js에서 PWA를 적용하기 위한 next-pwa 패키지 추가
#npm
npm install next-pwa
next-pwa를 사용하게 되면 플러그인을 하나밖에 사용못하게 되서 추가적으로 플러그인을 사용할 수 있게 한번에
묶어주는 패키지가 필요하다. 그래서 next-compose-plugin을 설치해야한
npm next-compose-plugin
2.config 설정
next.config.js파일에서
/** @type {import('next').NextConfig} */
const withPlugins = require("next-compose-plugins");
const withPWA = require("next-pwa");

const nextConfig = {
	reactStrictMode: true,
};

module.exports = withPlugins(
	[
		[
			withPWA,
			{
				pwa: {
					dest: "public",
				},
			},
		],
		// 추가 플러그인 작성
	],
	nextConfig
);
플러그인을 묶어서 사용할 때
module.exports = withPlugins(
	[
		[
			withPWA,
			{
				pwa: {
					dest: "public",
				},
			},
		],
        [
            typescript,
            {
                typescriptLoaderOptions: {
                    transpileOnly: false,
                },
            }
        ],
        // ...
	],
	nextConfig
);
4.브라우저에 이 웹은 PWA라는 것을 알리기 위해 manifest파일을 작성해야한다
{
"theme_color": "#FFFFFF",
"background_color": "#FE8C46",
"display": "standalone",
"scope": "/",
"start_url": "/",
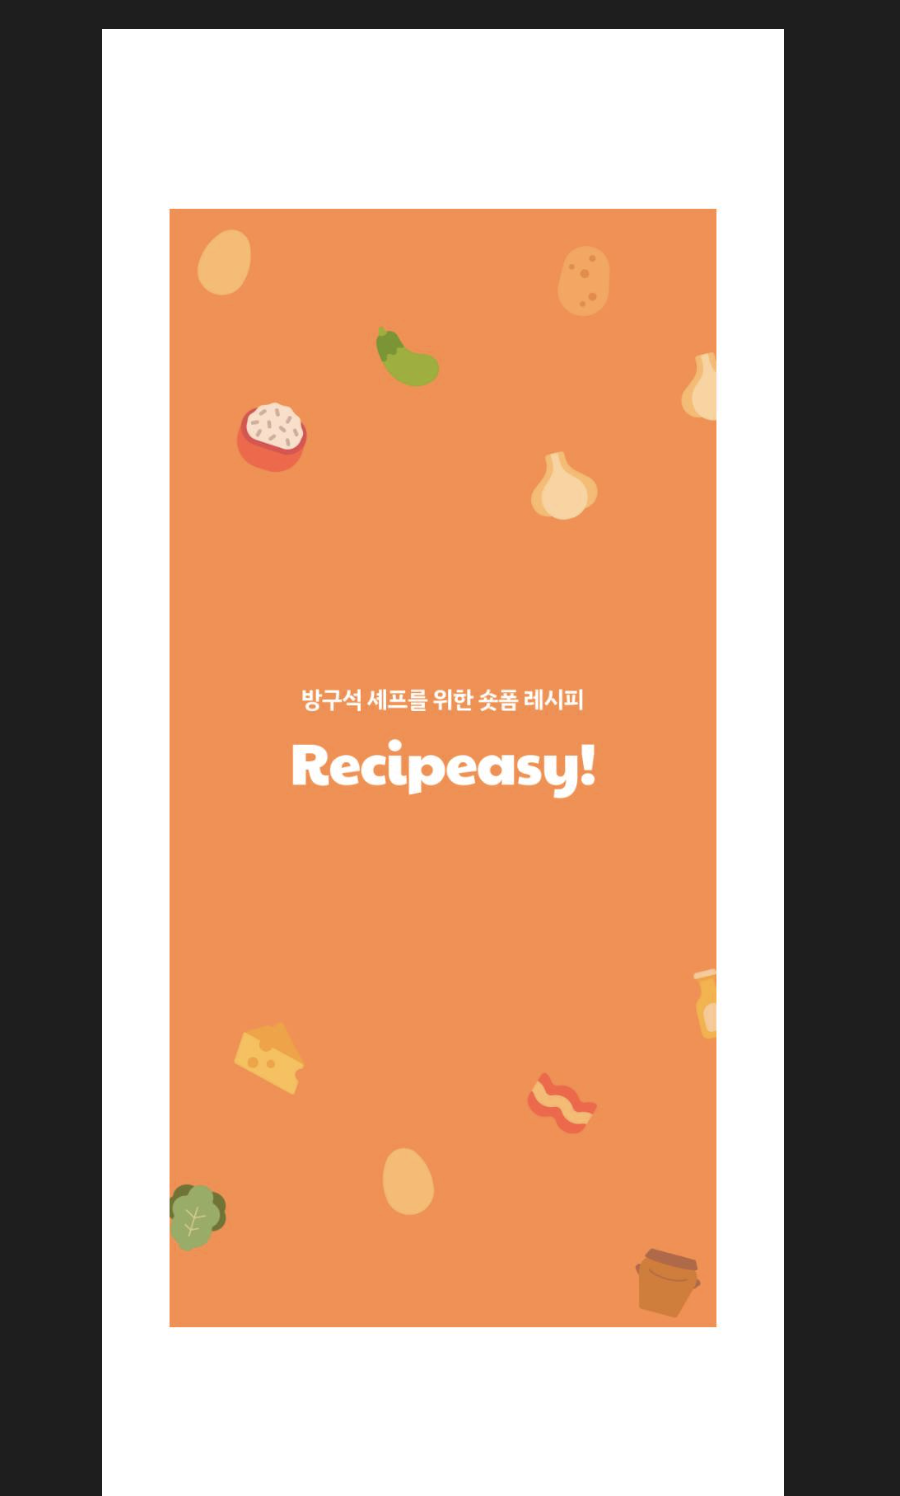
"name": "Recipeasy",
"short_name": "Recipeasy",
"description": "RECIPEASY: \ubc29\uad6c\uc11d \uc170\ud504\ub97c \uc704\ud55c 1\ubd84 \ub808\uc2dc\ud53c \uc601\uc0c1 \uad6c\ub3c5 \uc11c\ube44\uc2a4",
"icons": [
{
"src": "/icon-192x192.png",
"sizes": "192x192",
"type": "image/png"
},
{
"src": "/icon-256x256.png",
"sizes": "256x256",
"type": "image/png"
},
{
"src": "/icon-384x384.png",
"sizes": "384x384",
"type": "image/png"
},
{
"src": "/icon-512x512.png",
"sizes": "512x512",
"type": "image/png"
}
]
}- Name : PWA의 이름
- Short name : 앱 이름을 표시할 공간이 충분하지 않을 때 나타나는 이름
- Display : homescreen icon을 통해 실행될 때 app 화면이 보여지는 형태
- browser : 일반 브라우저와 동일하게 보입니다.
- standalone : 다른 앱들처럼 최상단에 상태표시줄을 제외한 전체화면으로 보입니다.
- fullscreen : 상태표시줄도 제외한 전체화면으로 보여줍니다.(ex. 게임)
- minimul-ui : fullscreen과 비슷하지만 뒤로가기, 새로고침등 최소한의 영역만 제공합니다.(모바일 크롬 전용)
- Description : app의 description 정보
- Application Scope(=scope) : app 내에서 PWA 기능을 적용할 범위
- Start url : app이 최초 실행 될 때 load되는 file의 경로
- Background color : 스플래시 배경색
- Theme color : 전체적인 테마색
이 코드는 아래 사이트를 이용해서 만들어야 쉽게 작성할 수 있다
https://www.simicart.com/manifest-generator.html/
PWA Manifest Generator | SimiCart
PWA Manifest Generator Automatically generate a fully functional web app manifest along with size-optimized icons for your PWA Web app manifest (i.e. manifest.json) is a JSON file that provides the necessary metadata for your Progressive Web App. With a
www.simicart.com
하지만 이 사이트는 아이폰 전기종을 나타내주지 못해 pwa-asset-generator를 사용하였다
GitHub - elegantapp/pwa-asset-generator: Automates PWA asset generation and image declaration. Automatically generates icon and
Automates PWA asset generation and image declaration. Automatically generates icon and splash screen images, favicons and mstile images. Updates manifest.json and index.html files with the generate...
github.com
이건 iphone 기종별로 자동으로 스플래쉬 화면의 코드 짜주는 라이브러리다
추가적으로,
이 라이브러리를 이용해서 iphone의 스플래쉬를 설정하려고 했는데 결과는 ㅜㅜ..
사이즈가 안맞는다...
그래도 포기할 순 없으니까 계속 찾아봤는데 찾아보니까 스플래쉬 스크린을 사용하지 못하겠다는 생각만 들었다
그 이유는 안드로이드에선 pwa가 자동으로 스플래쉬 화면을 만들어줘서 우리가 원하는 화면을 안드로이드에선 못 띄운다는 점이었다.
그래서 결국 스플래쉬 화면은 포기하고 랜딩페이지로 코드를 짜서 구현하였다.

5.아이콘 적용
사이트를 홈화면에 추가할 때 나타낼 앱에 적용할 이미지 파일을
pwa-generator-asset이나 https://tools.crawlink.com/tools/pwa-icon-generator/
사이트에서 이미지 파일을 생성하여 public/icons파일 안에 넣어준다
PWA Application Icon Generator Free Online Tool
Download PWA Icons Bundle Download
tools.crawlink.com
6.메타 태그 적용
브라우저가 이 웹이 PWA라는 것을 알아채기 위한 메타태그를 적용해야한다
_document.tsx파일의 Head안에 이런 식의 메타태그를 넣어줘야 한
<Head>
        <meta name="viewport" content="initial-scale=1.0, user-scalable=no, maximum-scale=1, width=device-width" />
        <link rel="manifest" href="/manifest.json" />
        <link rel="apple-touch-icon" href="/icon-192x192.png"></link>
        <link rel="shortcut icon" href="https://recipeasy.co.kr/favicon.ico" type="image/x-icon" />
        <meta name="apple-mobile-web-app-capable" content="yes" />
</Head>
이렇게 PWA를 적용하면서 간단하게라도 앱서비스처럼 웹을 나타내는 방법을 알게 되었다. 나중에 기회가 된다면 react-native나 kotlin, ios를 배워 직접 앱을 만들어 보는 공부를 해나가고 싶은 생각이 들었다
<어려웠던 CSS>
스크롤시 navBar css변경
'CEOS 프로젝트 RECIPEASY' 카테고리의 다른 글
| 비디오 플레이어 도입하는 법 (1) | 2023.02.18 |
|---|---|
| 로그인 구현 (1) | 2023.02.18 |
| 0.Recipeasy FE로 프로젝트 참여 (0) | 2023.02.14 |

